Custom Outsole Development
From a drawing to a graded size run.
Custom means custom: build to a drawing, to a sample, or to a performance brief. What follows is the path every programme takes, and the point at which each decision stops being cheap to change.
Six steps, and what happens in each.
Six steps, and what actually happens in each one. Durations depend on the sole system and the size run. Ask and we will put dates against your programme rather than a generic schedule.
- 01
Enquiry and DFM review
You send a drawing, a 3D file or a sample. Our engineers come back on wall thickness, draft angle, lug geometry and shrinkage before anything is cut. The cheapest moment to change a design is now.
- 02
Material and hardness proposal
We recommend the sole system and compound against your performance targets, and tell you what we can hold rather than what the category can.
- 03
Tooling
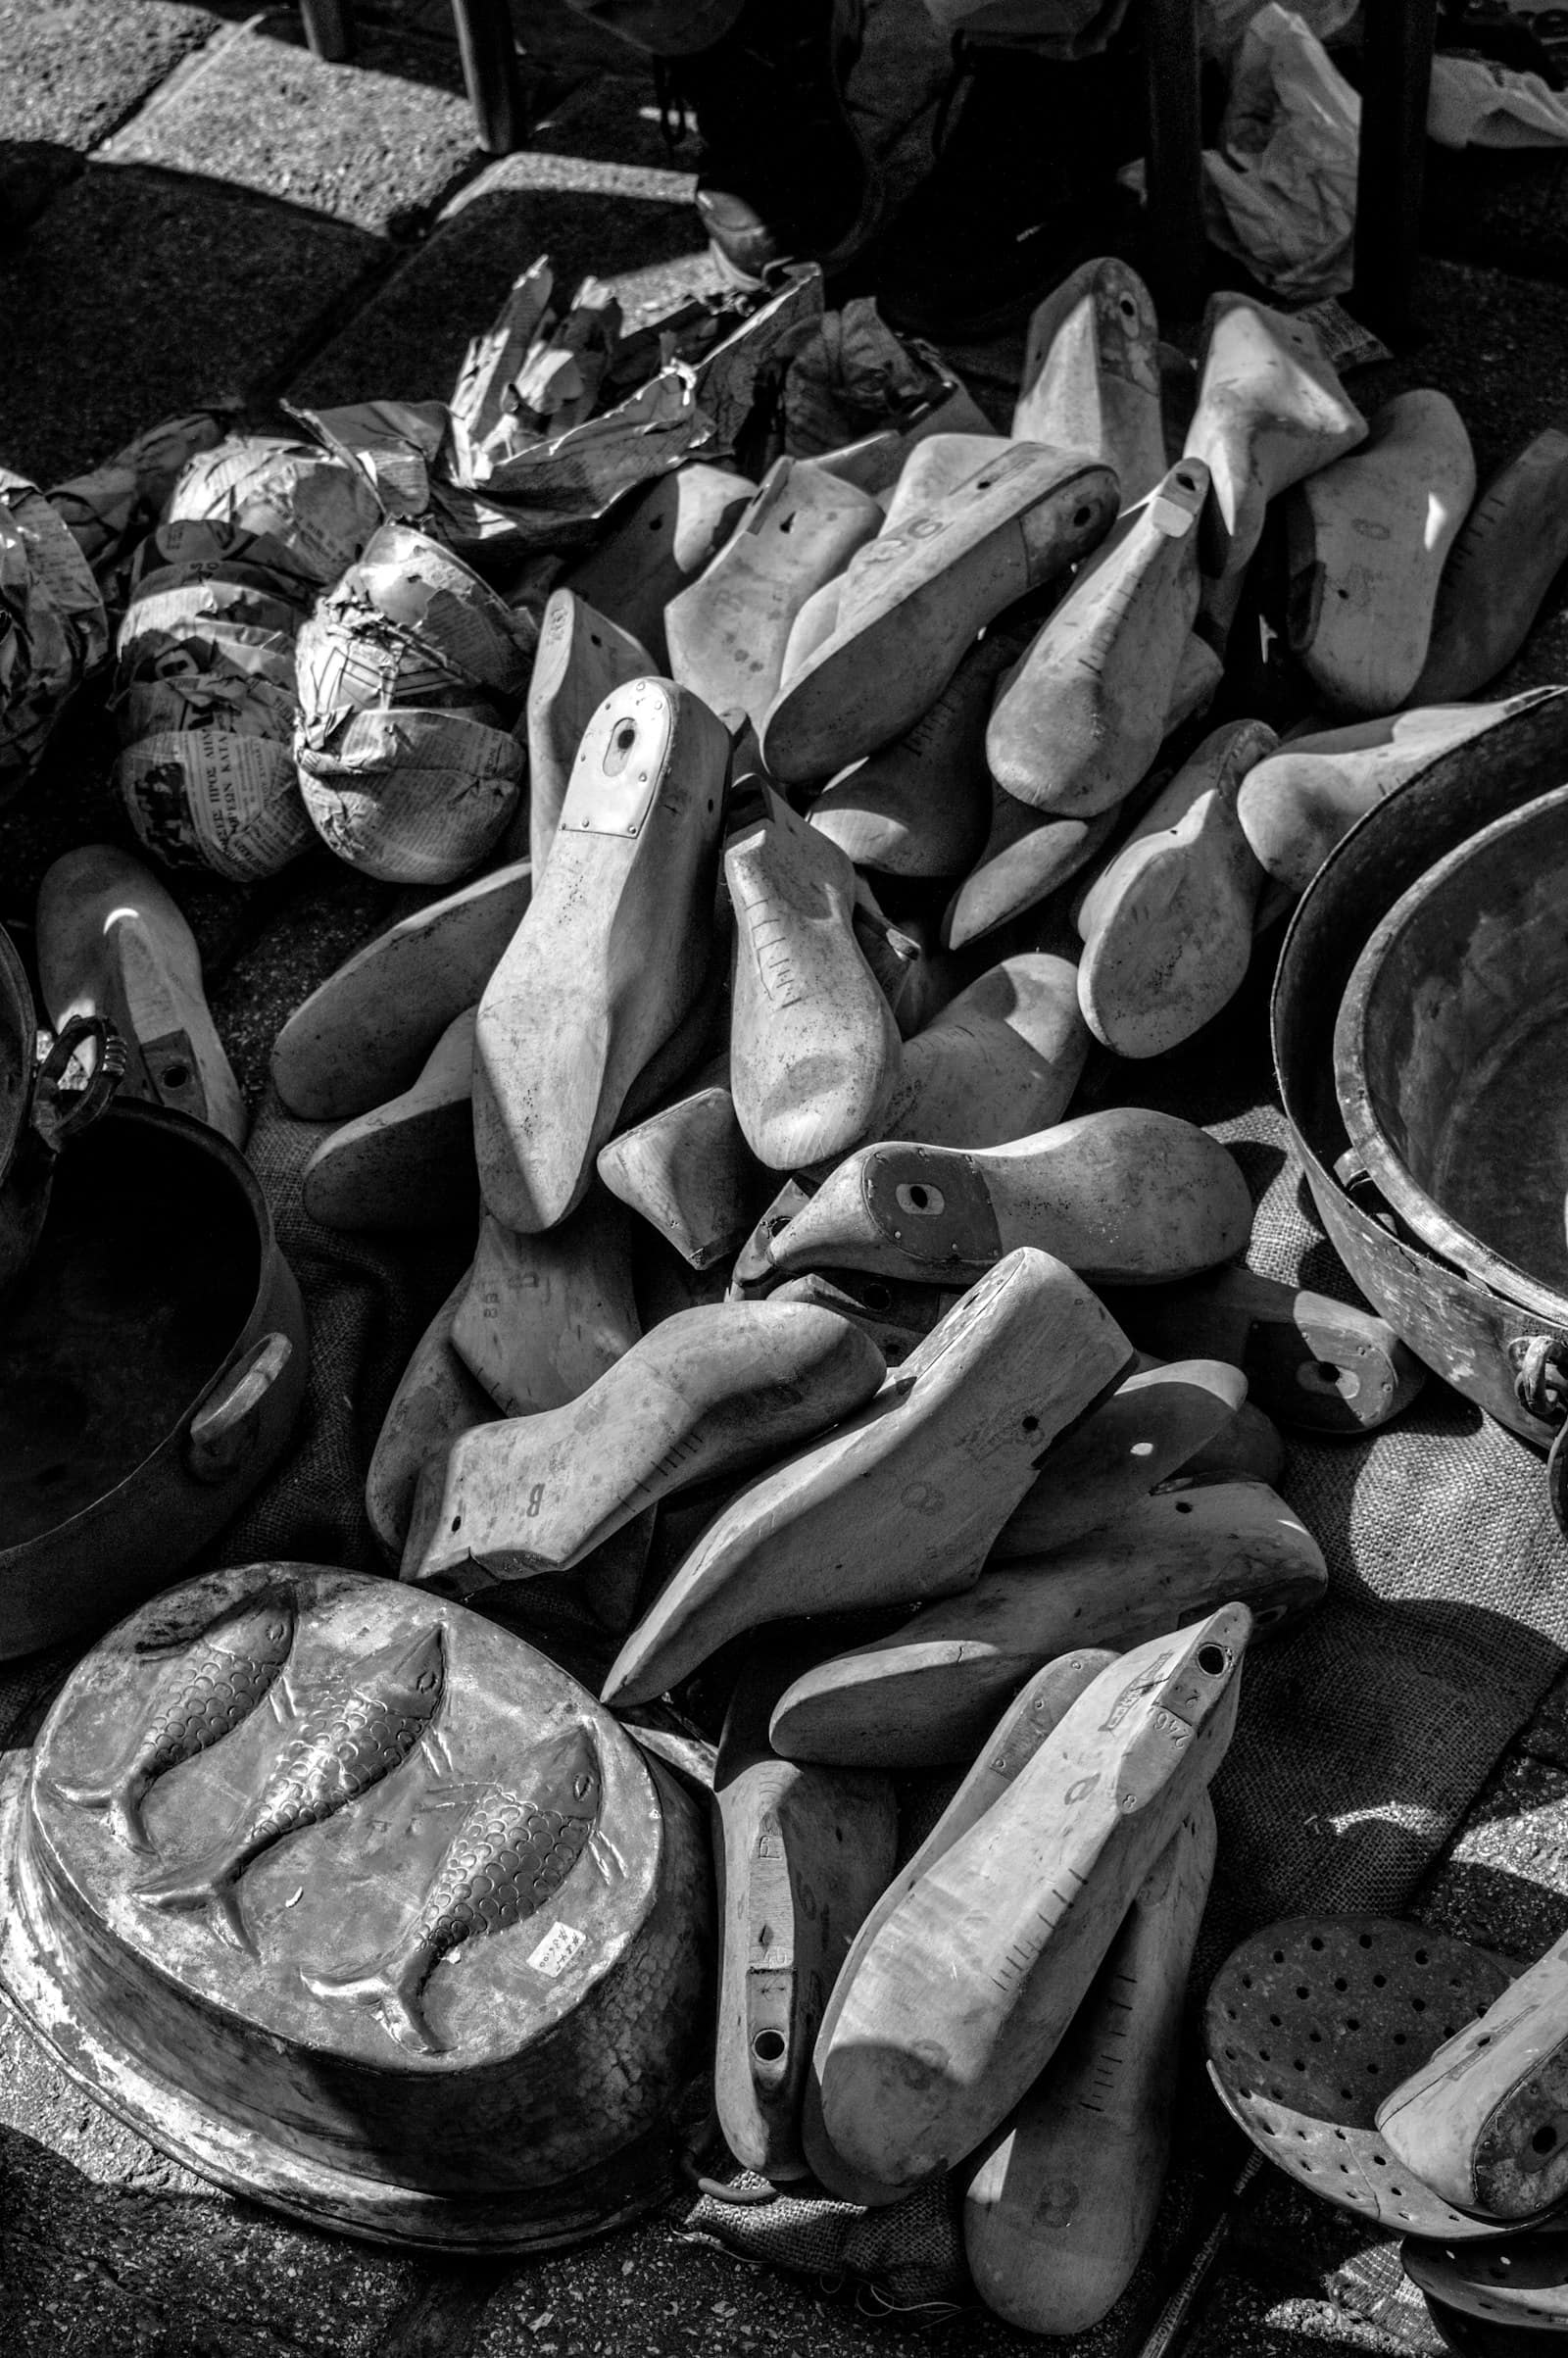
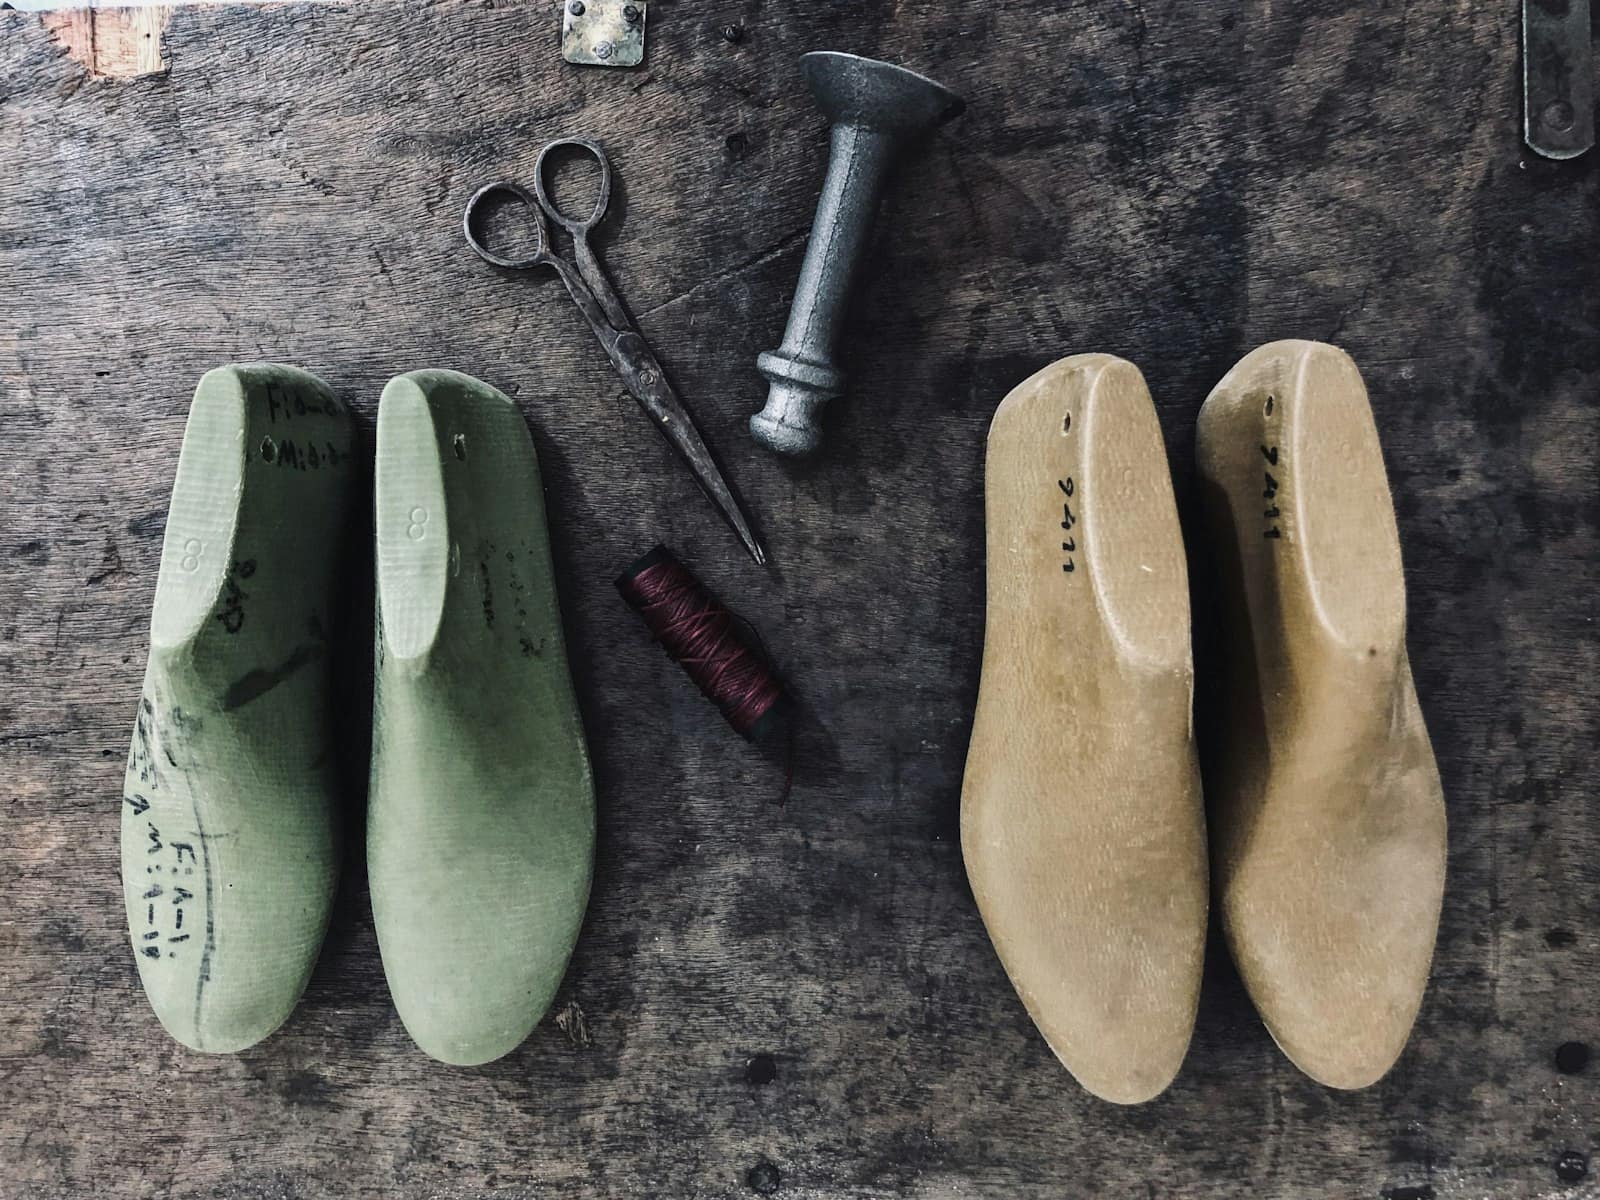
Wood carving through CNC in our own mould shop. Rubber normally runs in steel, EVA in aluminium. Tooling is cut per size, so the size run drives the mould count and the cost.
- 04
First trial and sample
A trial shot off the new tool, then confirmation samples in your colour. Tread depth, hardness and weight are measured against the brief.
- 05
Testing and sign-off
In-house abrasion, slip, tensile, density and cure data against the standard you certify to. Anything we do not run in-house goes to an accredited laboratory and comes back as a report.
- 06
Grading and mass production
The approved sole is graded across the size run, tooling is duplicated to capacity, and production runs with in-line inspection against the signed-off sample.
Everything is cheap until the steel is cut.
The same six stages, against what a design change costs at each one. The step is at tooling: before it a revision is an email, after it a revision is a mould. There is no scale on this drawing on purpose: we will not put a number on lead time until we can stand behind it.
What it takes to start one.
The thresholds a programme has to clear before the sequence above is worth running.
Our own figures, not a category benchmark. Held across the six sole systems; a programme that moves them says so in the quotation. Full terms, tooling cost and mould ownership are on the OEM & ODM page.
What we check before anything is cut.
The design-for-manufacture pass is the cheapest hour in the whole programme. Every item below costs days to fix once the tool exists.
- Wall thickness and how it varies across the tread: thin sections cure unevenly and thick ones sink.
- Draft angle on every vertical face, or the part fights the mould on release.
- Lug geometry against the compound: a pattern that works in 65 Shore A rubber can tear out of a 45.
- Shrinkage allowance, which differs by material and has to be built into the tool, not corrected after.
- Parting-line placement, because it will be visible and it should be somewhere you chose.
What we need to quote.
Send as much of this as you have. A reference shoe and a performance target is enough to start a conversation.
- Drawing, 3D file or physical sample
- AI, STP, IGES, DWG, a 3D scan, or post us the shoe you want matched.
- Sole system and target hardness
- Shore A for rubber and TPR, Shore C for EVA. If you are unsure, describe the use.
- Size range and grading
- EU, US or UK, and the full span: tooling is priced per size, not per style.
- Colour and finish
- Pantone or a physical chip. Note if the sole must be non-marking.
- Volume per colour and per style
- Both the first order and the annual expectation; they price differently.
- Performance targets and test standards
- Abrasion, slip, flex or ageing requirements, with the standard you certify against.
Questions buyers ask about this
What do you need from us to start?
A drawing, a 3D file or a physical sample: AI, STP, IGES, DWG, 3D scan data, or the shoe itself posted to the factory. If all you have is a reference shoe and a performance target, that is enough to begin a DFM review.
When does a design change stop being cheap?
At tooling. Up to the material and hardness proposal a change is a conversation; once the tool is being cut it becomes a recut or a new mould. That is why our engineers come back on wall thickness, draft angle, lug geometry and shrinkage before anything is machined rather than after the first trial shot.
How long does development take?
Samples from existing tooling come back within 10 days, new tooling within 15 days, and a development sample including its tooling in 3 to 4 weeks. From mould approval to finished goods is 30 to 60 days depending on volume.
The tooling, once the DFM passes.
Every stage above runs on moulds cut in our owntooling plant, which is why a revision at trial-shot stage costs days here rather than a new purchase order. Before you budget one, theoutsole mould cost guidesets out what a size run of tooling should cost and where quotes hide the per-size moulds. And the sign-off stage is not a handshake: thetests each rig runs are named to their standards, so what gets measured is agreed before the tool is cut.
Start a development programme.
Drawing, 3D file or a shoe in the post. We reply with the DFM notes, a material recommendation and a tooling plan.